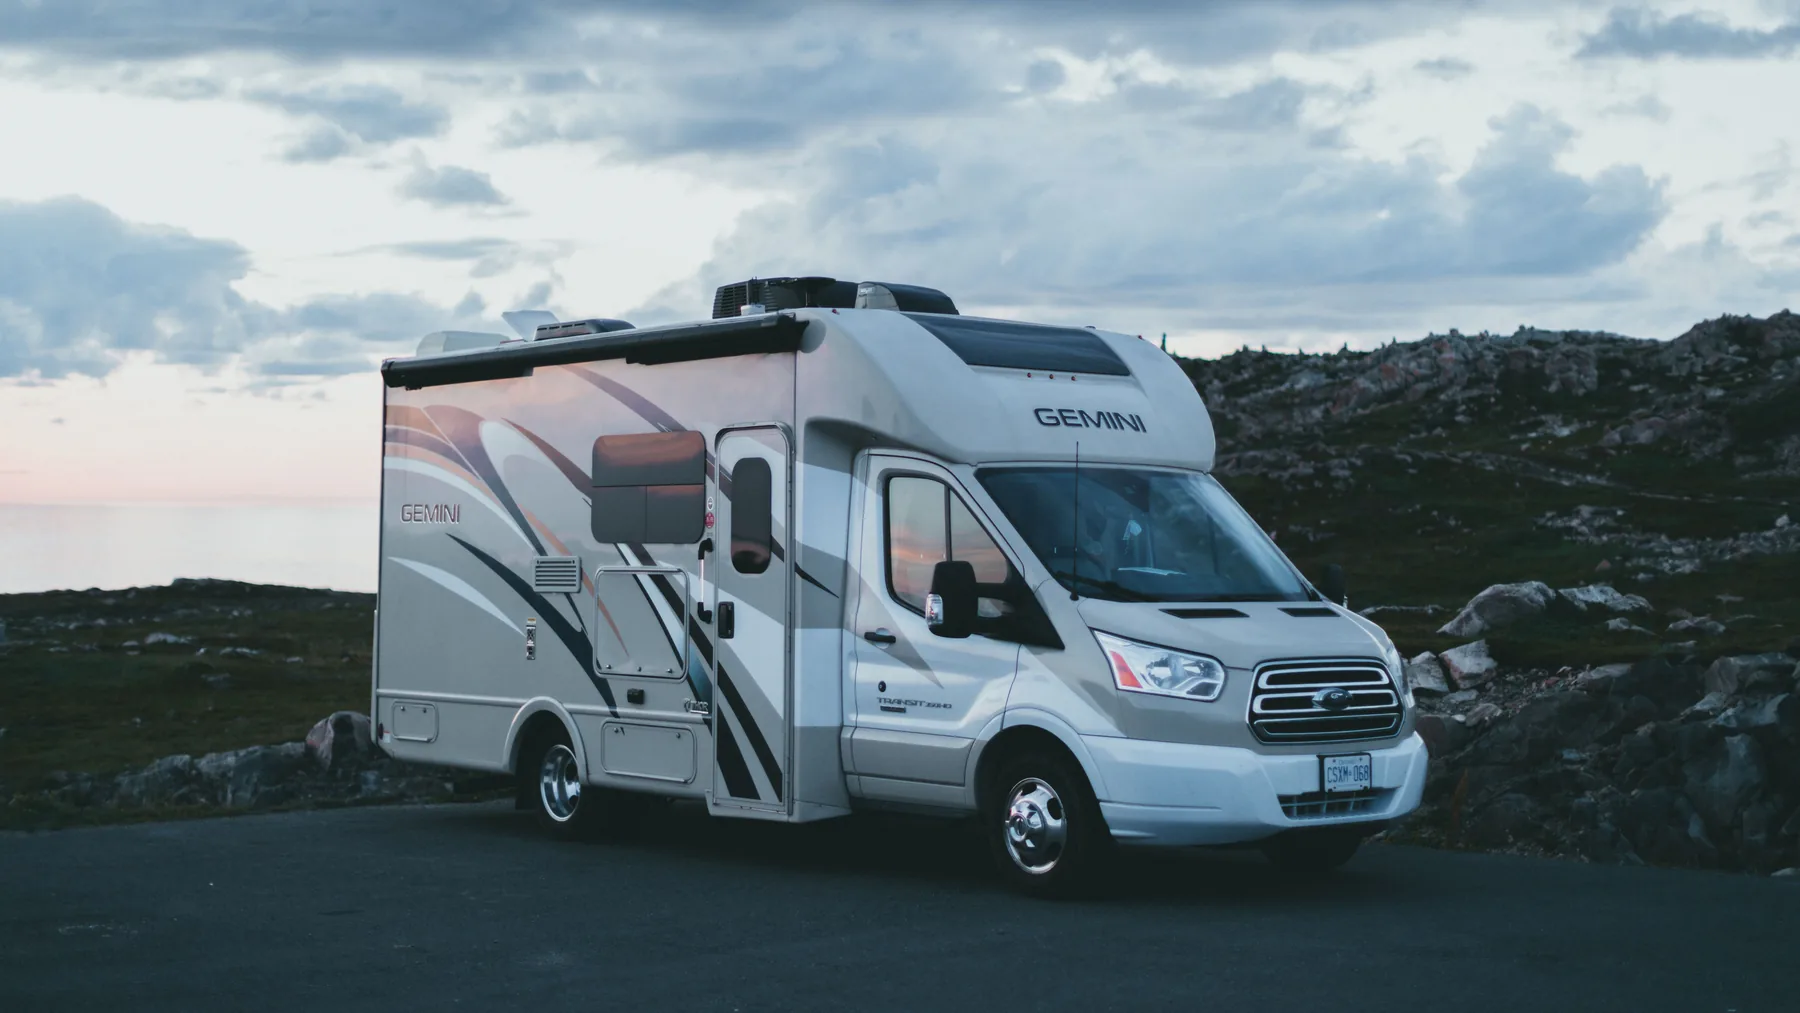
Your RV roof is the most expensive part of the rig to ignore, and the Grand Valley climate is uniquely good at destroying it. Up here on the Western Slope we get the double punishment of high-desert ultraviolet at altitude, which bakes and dries out sealants faster than lower elevations, and a genuine freeze-thaw winter that expands and contracts every seam and lap joint until the caulk finally splits. Add the weight of a wet spring snow sitting on a flat roof and you have the exact conditions that turn a small crack into a soaked ceiling. Knowing how often to reseal, and how to spot trouble early, is the single best thing you can do to protect the value of your camper.
Most RV roofs are a rubber membrane, either EPDM or TPO, sealed at every edge, vent, antenna, and skylight with a lap sealant. Those sealants are the weak point. At Grand Junction's elevation the UV index runs high even in cool weather, and UV is what breaks down the chemical bonds in caulk and membrane alike. Then winter arrives: water works into a hairline crack, freezes overnight, expands, and pries the crack wider, and repeats that cycle dozens of times between November and March. A sealant that might last five years in a mild coastal climate can degrade noticeably faster here.
The industry rule of thumb is to inspect the roof at least twice a year and reapply lap sealant to the seams as needed, with a more thorough resealing every few years. On the Western Slope I tell customers to inspect in spring after the snow is gone and again in fall before it arrives, and to plan on refreshing sealant on the high-stress joints, front cap, vents, and skylights, roughly every two to three years rather than the four or five you might get elsewhere. A full membrane recoat is a longer-interval job, but keeping the sealant fresh is what actually keeps water out between recoats.
Do not wait for a stain on the ceiling; by then the damage is done and the repair bill has multiplied. Look for sealant that has cracked, yellowed, chalked, or pulled away from its edge, soft or spongy spots on the roof decking, streaking down the sidewalls below roof fittings, and any lifting at the seams. Inside, watch for a musty smell, discoloration around roof vents or the skylight, and delamination bubbling on the walls. Any of these on a Grand Junction rig means it is time to get up there or call someone who will.
Unlike desert-only climates, the Grand Valley and the higher country around it can drop heavy, wet snow that piles on a flat RV roof. That weight stresses seams and can pool meltwater against a marginal seal. If your rig is stored outside through the winter here, keeping the roof sealed is only half the job; you also want to keep heavy accumulation from sitting on it, and to make sure meltwater can actually drain rather than pond around a vent lip that is one freeze away from leaking.
Refreshing the lap sealant on the seams and fittings is an affordable maintenance service, usually a modest few-hundred-dollar range depending on roof size and how much old sealant needs removal. A full clean, prep, and membrane recoat is a bigger project priced by square footage. Either way it is a rounding error compared with replacing water-damaged decking, insulation, and interior panels, which routinely runs into the thousands once rot sets in. Resealing is the definition of cheap insurance.
Roof work is awkward to take to a shop, and many Grand Valley RVers store their rig at home, at a lot, or at a campground from Fruita to Palisade. We come to where the RV sits, safely access the roof, remove failed sealant, prep the surface properly, and apply the correct product for your membrane type, EPDM and TPO want different sealants, and using the wrong one is a common DIY mistake. For membrane care specifics, manufacturers like Dicor publish clear guidance on matching sealant to roof type.
Plenty of handy Grand Valley RVers reseal their own roofs, and if you are comfortable on a ladder and know your membrane type, the seam-refresh is within reach. The two mistakes I see most are using the wrong sealant for the membrane and skipping proper removal of the failed product, both of which lead to a reseal that peels within a season under our UV. If you are unsure which membrane you have, or the roof shows soft spots that hint at decking damage underneath, that is the point to hand it off. A pro reseal on compromised decking without addressing the rot beneath just traps the problem.
Most RVs here spend winter parked, and how you store the rig decides how the roof fares. Before the first storm, give the roof a full inspection and reseal, clear the drains and vent surrounds so meltwater flows off rather than ponding, and consider a breathable RV cover rated for UV and snow. Avoid cheap tarps, which trap moisture and flap against the roof in Grand Valley wind, abrading the membrane. If heavy snow accumulates, clear it gently with a soft tool from a ladder rather than climbing onto a cold, brittle membrane. A rig that goes into winter sealed and drains clear comes out in spring without a nasty surprise on the ceiling.
Mobile RV roof inspection and resealing across Grand Junction, Fruita, Palisade, Clifton, and the Grand Valley.
Inspect twice a year, spring and fall, and refresh lap sealant on the high-stress seams every two to three years. Our high UV and freeze-thaw winters age sealant faster than milder climates, so err on the frequent side.
Yes. We are fully mobile and reseal roofs wherever your rig is parked, at home, a storage lot, or a campground from Fruita to Palisade, using the correct sealant for your specific membrane type.
What Mobile RV Repair Really Costs in Grand Junction (A Plain-English Guide) — Mobile RV repair that comes to you across the Grand Junction area.
Your RV roof is the most expensive part of the rig to ignore, and the Grand Valley climate is uniquely good at destroying it. Up here on the Western Slope we get the double punishment of high-desert ultraviolet at altitude, which bakes and dries out sealants faster than lower elevations, and a genuine freeze-thaw winter that expands and contracts every seam and lap joint until the caulk finally splits. Add the weight of a wet spring snow sitting on a flat roof and you have the exact conditions that turn a small crack into a soaked ceiling. Knowing how often to reseal, and how to spot trouble early, is the single best thing you can do to protect the value of your camper.
Most RV roofs are a rubber membrane, either EPDM or TPO, sealed at every edge, vent, antenna, and skylight with a lap sealant. Those sealants are the weak point. At Grand Junction's elevation the UV index runs high even in cool weather, and UV is what breaks down the chemical bonds in caulk and membrane alike. Then winter arrives: water works into a hairline crack, freezes overnight, expands, and pries the crack wider, and repeats that cycle dozens of times between November and March. A sealant that might last five years in a mild coastal climate can degrade noticeably faster here.
The industry rule of thumb is to inspect the roof at least twice a year and reapply lap sealant to the seams as needed, with a more thorough resealing every few years. On the Western Slope I tell customers to inspect in spring after the snow is gone and again in fall before it arrives, and to plan on refreshing sealant on the high-stress joints, front cap, vents, and skylights, roughly every two to three years rather than the four or five you might get elsewhere. A full membrane recoat is a longer-interval job, but keeping the sealant fresh is what actually keeps water out between recoats.
Do not wait for a stain on the ceiling; by then the damage is done and the repair bill has multiplied. Look for sealant that has cracked, yellowed, chalked, or pulled away from its edge, soft or spongy spots on the roof decking, streaking down the sidewalls below roof fittings, and any lifting at the seams. Inside, watch for a musty smell, discoloration around roof vents or the skylight, and delamination bubbling on the walls. Any of these on a Grand Junction rig means it is time to get up there or call someone who will.
Unlike desert-only climates, the Grand Valley and the higher country around it can drop heavy, wet snow that piles on a flat RV roof. That weight stresses seams and can pool meltwater against a marginal seal. If your rig is stored outside through the winter here, keeping the roof sealed is only half the job; you also want to keep heavy accumulation from sitting on it, and to make sure meltwater can actually drain rather than pond around a vent lip that is one freeze away from leaking.
Refreshing the lap sealant on the seams and fittings is an affordable maintenance service, usually a modest few-hundred-dollar range depending on roof size and how much old sealant needs removal. A full clean, prep, and membrane recoat is a bigger project priced by square footage. Either way it is a rounding error compared with replacing water-damaged decking, insulation, and interior panels, which routinely runs into the thousands once rot sets in. Resealing is the definition of cheap insurance.
Roof work is awkward to take to a shop, and many Grand Valley RVers store their rig at home, at a lot, or at a campground from Fruita to Palisade. We come to where the RV sits, safely access the roof, remove failed sealant, prep the surface properly, and apply the correct product for your membrane type, EPDM and TPO want different sealants, and using the wrong one is a common DIY mistake. For membrane care specifics, manufacturers like Dicor publish clear guidance on matching sealant to roof type.
Plenty of handy Grand Valley RVers reseal their own roofs, and if you are comfortable on a ladder and know your membrane type, the seam-refresh is within reach. The two mistakes I see most are using the wrong sealant for the membrane and skipping proper removal of the failed product, both of which lead to a reseal that peels within a season under our UV. If you are unsure which membrane you have, or the roof shows soft spots that hint at decking damage underneath, that is the point to hand it off. A pro reseal on compromised decking without addressing the rot beneath just traps the problem.
Most RVs here spend winter parked, and how you store the rig decides how the roof fares. Before the first storm, give the roof a full inspection and reseal, clear the drains and vent surrounds so meltwater flows off rather than ponding, and consider a breathable RV cover rated for UV and snow. Avoid cheap tarps, which trap moisture and flap against the roof in Grand Valley wind, abrading the membrane. If heavy snow accumulates, clear it gently with a soft tool from a ladder rather than climbing onto a cold, brittle membrane. A rig that goes into winter sealed and drains clear comes out in spring without a nasty surprise on the ceiling.
What Mobile RV Repair Really Costs in Grand Junction (A Plain-English Guide) — Mobile RV repair that comes to you across the Grand Junction area.